Can You Make a Milkshake in a Nutribullet? (Yes, Here’s How)
On this page 6 sections
The Nutribullet is a popular personal blender that can handle milkshakes if you know how to use it right. It’s not just about tossing ice cream and milk inside; the right order, quantities, and blending times matter to avoid a thin or overly icy result.
This recipe and how-to guide walks you through the exact steps, from ingredient amounts to blending tips, plus variations for common dietary needs and how to avoid mistakes that ruin the texture or strain your Nutribullet’s motor.
Making a Milkshake in Your Nutribullet
Yes, you can make a milkshake in a Nutribullet, but it requires attention to ingredient ratios and blending technique. A simple vanilla milkshake or a more complex chocolate version can be ready in about 20 to 30 seconds of blending.
The Nutribullet handles milkshakes well as long as you use a 2:1 frozen-to-liquid volume ratio. This means twice as much frozen ingredient, like ice cream or frozen fruit, as liquid such as milk or cream. This ratio helps achieve a thick, creamy texture without overworking the motor.
Follow the fill line on the Nutribullet cup carefully—it marks the maximum capacity for safe blending. Layer your ingredients starting with the liquid at the bottom, followed by softer mix-ins, and frozen items on top. This order helps the blades spin freely and blend smoothly.
Blend for 20 to 30 seconds, which is enough to combine ingredients into a smooth milkshake without overheating the motor. Avoid blending too briefly, or you’ll end up with chunks. Also, don’t fill the cup above the indicated fill line to prevent leaks and motor strain.
A popular approach is the “nutribullet six second milkshake recipe,” which uses this layering and ratio method but blends in short bursts to reach the desired consistency. For a really simple vanilla milkshake, combine vanilla ice cream, milk, and a touch of vanilla extract using this technique for quick results.
Common mistakes include overfilling the cup, underblending, or adding hard ingredients like ice cubes directly on top, which can damage the blades. Stick to soft frozen ingredients and proper layering for the best outcome.
Step-by-Step Nutribullet Milkshake Recipe
Here’s how to make a classic 24 oz milkshake in your Nutribullet with exact measurements and layering instructions.
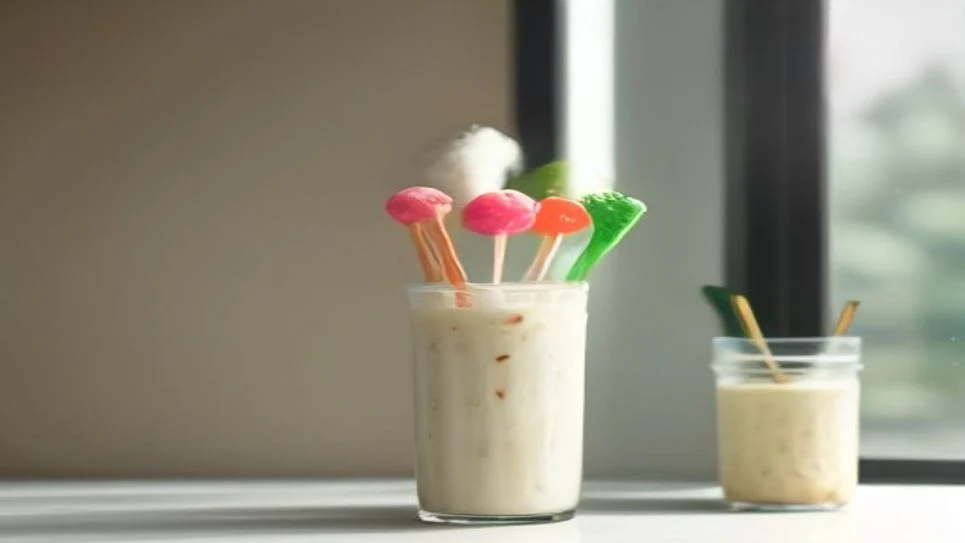
Ingredients: 1 cup (8 oz) whole milk or milk alternative, 2 cups (16 oz) vanilla ice cream or frozen yogurt, and 1 teaspoon vanilla extract.
Start by pouring the milk into the Nutribullet cup. Add the vanilla extract next for flavor. Then, top with the frozen ice cream, placing it last to help the blades move freely and blend efficiently.
Secure the blade assembly tightly, then blend in 20 to 30 second intervals. Check the texture after 15 seconds and pulse briefly if needed. Avoid running the motor continuously for longer than 30 seconds to prevent overheating.
If the milkshake is too thick after blending, add a tablespoon of milk and blend again for a few seconds. If it’s too thin, add a bit more frozen ice cream and blend briefly to thicken.
For chocolate milkshakes, add 2 tablespoons of chocolate syrup before the ice cream. The same layering and blending times apply.
Variations for Common Health Needs
You can enjoy a Nutribullet milkshake even with specific health concerns by swapping ingredients wisely. For example, using frozen fruit or Greek yogurt instead of traditional ice cream lowers added sugar and fat, making your shake lighter and easier to digest.
If you’re thinking about a Nutribullet peanut butter milkshake, choose natural peanut butter without added sugar and pair it with unsweetened almond or oat milk. These liquids are gentle on the stomach and work well for sensitive digestion or reflux.
To reduce added sugar, replace syrups with natural sweeteners like mashed bananas or a small amount of pure maple syrup. Avoid citrus or acidic fruits if you have reflux, opting instead for mild flavors like berries or vanilla extract.
For kidney-friendly choices, limit high-potassium items such as bananas and dairy. Swap these for lower-potassium fruits like apples or grapes, and use rice or oat milk instead of cow’s milk. Watch protein intake by using smaller amounts of Greek yogurt or protein powder, as excessive protein can stress kidneys.
Looking for more ideas? Nutribullet recettes milkshake variations often include dairy-free, low-sugar options that suit common dietary restrictions while still blending smoothly. Adjusting your ingredients this way lets you tailor milkshakes to your health needs without losing flavor or texture.
 Home Juicing Starter KitMake fresh juice that tastes good, costs less and keeps safely: 40 recipes with exact amounts, a yield chart and a 4-week plan.40 juice, smoothie and shot recipesYield, storage and food-safety chartsCost, yield and shopping-list calculator (Excel)
Common Mistakes That Ruin Your Nutribullet Milkshake
A frequent problem when making a milkshake in your Nutribullet is using too little or too much liquid. Too little liquid causes the blades to stall, leaving chunks unblended, while too much creates a thin, watery shake instead of the creamy texture you want.
Large frozen chunks or ice cubes can jam the blades and overwork the motor. It’s better to use smaller frozen pieces or slightly thaw fruit before blending to avoid strain and ensure smooth results.
Over-blending is another mistake that can overheat your Nutribullet Pro 900 or any model, potentially damaging the motor. Blend in short bursts, pausing to check the texture and to cool the machine if it feels hot to the touch.
Cleaning your Nutribullet promptly after each use prevents lingering odors and keeps the blades sharp. Residue from dairy or sugary ingredients can build up, affecting flavor and performance.
If you search for milkshake Nutribullet tips, you’ll find that attention to ingredient size, liquid ratio, and blending time is key. These adjustments protect your appliance and deliver the smooth milkshake experience you’re aiming for.
Final Checklist Before Your Next Nutribullet Milkshake
Make sure you confirm the ingredient amounts and layering order before starting your Nutribullet milkshake. Following a 2:1 frozen-to-liquid ratio and adding denser ingredients at the bottom helps achieve a smooth blend.

Check the cup fill line carefully to avoid overfilling. Overfilling can cause leaks or motor strain and may prevent the lid from sealing properly.
Ensure the blade assembly is securely tightened and that the motor base is cool before blending. This prevents spills and protects the motor from overheating.
Plan your blending time to avoid running the Nutribullet continuously for more than 60 seconds. Short pulses with breaks allow the motor to cool and produce a better texture without overheating.
After blending, clean your Nutribullet immediately to avoid odors and maintain performance. Rinse the cup and blades thoroughly, and dry them well before storing.
Following these simple steps will help you make a thick, smooth milkshake safely and reliably every time.